How to install a ductless range hood – Beginner’s Guide
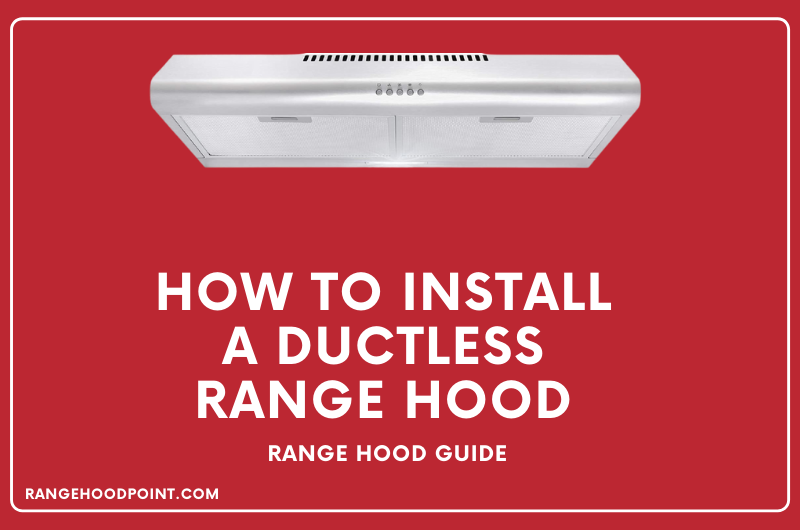
To be comfortable and ease while cooking, kitchen range hoods are the best appliances to take your breath in a dirt-free and odor-free environment. They enable you to remain fresh and alive while getting rid of the suffocating environment of the kitchen. Here we are to help you regarding the installation process of a ductless under cabinet range hood.
Pre-installation Requirements for ductless range hood installation
Before installing a ductless range hood, first make sure the proper mounting distance between stovetop and fan assembly. This could be a minimum of 24 and a maximum of 30 inches.
Furthermore, do not forget to turn off the power supply before installing the range hood.
Basic Tools Required
Following are the tools needed for the installation of a ductless range hood.
- Drill or screwdriver
- Pen/Pencil to mark the holes.
- Drill or screwdriver
- Measuring tape to verify height
Cost of installing a ductless range hood
There is no fixed amount or digit to install a range hood as it depends upon the range hood model or version. It solely depends upon the range hood which you are using. The average cost for any range hood is between 200 to 500 dollars.
How to install an under cabinet ductless range hood?
While installing an under cabinet island range hood, the first step is to fit the hood, mark the areas with a pencil and make holes with a drill machine. Make sure the placement of the hood is leveled and centered. The suggestion is that it has to be at least 24 inches above the cooktop. You are now to install a charcoal filter after the complete installation of the range hood.
To know the details of each step of the Installation method, continue reading the following article given below.
Detailed steps of how to install ductless island range hood
Here is the list of detailed and comprehensive steps to guide you regarding the installation process of a ductless range hood.
1st Step – Unboxing and verification of operations
First of all, unbox your range hood before installation, put it on a countertop, and plug it in. This is because to check whether all lights, touch screens, and other operations are functioning correctly or not. Once you get satisfied, move to the next step.
2nd Step-Range hood Preparation for Ductless installation
Almost all the range hoods can easily be converted into ductless ones. Different kitchen range hoods brands have different specifications to make it ductless. Some have the requirement to place a cap over their rage hood vent holes, while others have already covered it by themselves. So they vary due to their specifications.
You have to ensure that your range hood has a vent that allows greasy air to suck into it (instead of going into the wall). Installation of a ductless under cabinet range hood might be a complex job if you don’t understand the proper way of installation.
3rd Step-Place the hood
Once you are sure that the range hood is ready with ductless configuration, you can move on to fit it.
Use a cabinet or carjack for the installation process. In using a jack, you have to place a piece of plywood or anything flat over range, and the center places the jack beneath the cabinet. If you are not an expert or unable to use jeck, you have the option of taking help from someone familiar with this process. Other than that, you may have a copy or booklet to guide.
Make sure to maintain the level of straightness when you hold the range hood beneath the cabinet. You also need a tape measure for this process. The possible gap allowed for proper ventilation is a minimum of two-inch to a maximum of 36 inches above the range hood to ensure good indoor air quality.
4th Step-Measurement of the place to locate rangehood
Use a pencil to mark the points of the screw holes after you have done with placement fitted.
5th Step-Drilling holes
Moving ahead, another step of the installation includes drilling holes through drill machines known as installation brackets onto the bottom of the cabinet. They help in the installation process by making the installation easier.
But if your range hood has a paper template to guide you where to mark the screw holes or brackets, go with those guidelines. Do not forget that you should not have to cut the large center 4 to the 8-inch hole because that is for vented range hoods.
6th Step-Wiring the circuit cabinet
After dry-fitting the range hood, you have to mark the screw holes for wiring. Installed plastic anchors at the openings. Now pull the electrical wiring through the cabinet.
But what if the cabinet does not have a hole. If so, then make a hole by yourself by cutting the wiring. The hole can be made with the help of a hammer or, or you can use a drill machine to make a hole with a 2-inch diameter.
Power cords should not be inserted between the cabinet and hood, and they should be kept in mind.
7th Step-Range hood tightening
After pulling through the plug or wiring, it is time to fasten the hood to the cabinet.
Never tighten the jack at once. Start tightening it gradually from slow to fast. If you do not use a jack, you might be in the help of a helper to hold the range hood when you secure it.
For under-cabinet installation, the most common use of range hood is to drill four wood screws from the hood to the cabinet bottom vertically.
If you are using brackets, make sure that the range hood should slide through the brackets.
8th Step-Plug the power cord in hood
After successfully fixing the rangehood undercabinet, plug the power supply cord into the cabinet. If your range hood consists of specific wires, you have to join the same color as black to black, green to green, and white to join.
9th Step-Test the range hood
It is mandatory to check and test the range hood after placement and wiring to check whether the wiring and all other things are done correctly.
10th Step -Installation of Charcoal filter
Lastly, you have to install a charcoal filter after you have wired and tightened the hood. Keep in mind that it is not good to use ordinary aluminum filters, especially your ductless range hoods. Here you are suggested to buy a filter that suits your range hood and that consists of a layer of activated charcoal. The charcoal layer absorbs particles of the smoke, and other particulates produce during cooking. You cannot wash these filters, nor can you reuse them. The only solution is to replace the filters after few months constantly.
Bottom lines
A ductless range hood works by absorbing greasy air in kitchen charcoal filters that trap the dirt and neutralize cooking odors. So here is the most uncomplicated guideline to help you how to install a ductless range hood.\
{ "@context": "https://schema.org", "@type": "BlogPosting", "mainEntityOfPage": { "@type": "WebPage", "@id": "https://rangehoodpoint.com/how-to-install-a-ductless-range/" }, "headline": "How to install a ductless range hood – Beginner’s Guide", "description": "To be comfortable and ease while cooking, kitchen range hoods are the best appliances to take your breath in a dirt-free and odor-free environment. They enable you to remain fresh and alive while getting rid of the suffocating environment of the kitchen.", "image": "http://rangehoodpoint.com/wp-content/uploads/2021/08/How-to-install-a-ductless-range-hood.png", "author": { "@type": "Person", "name": "Howdy Victoria", "url": "https://rangehoodpoint.com/wp-admin/profile.php" }, "publisher": { "@type": "Organization", "name": "Howdy Victoria", "logo": { "@type": "ImageObject", "url": "http://rangehoodpoint.com/wp-content/uploads/2020/04/cropped-food_icon_fav.png" } }, "datePublished": "2021-08-26", "dateModified": "2021-08-26" }
![How to vent a range hood [Step by Step Guide]](http://rangehoodpoint.com/wp-content/uploads/2021/08/How-to-vent-a-range-hood-1-1-768x509.png)